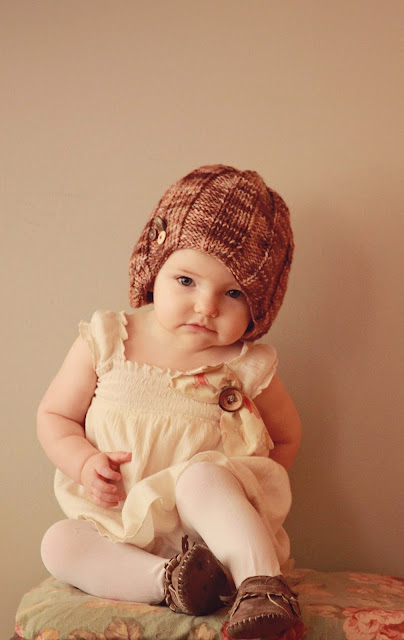
here's a little diy tutorial for a really simple button bow that can be sewn onto a shirt, dress, or headband. all you need is: cool fabric, scissors, a button, thread & a needle...& maybe an iron if you're feeling ambitious.
 |
| step 1: cut fabric. i cut this piece 4.5"x6" for a bow on a small dress. once cut, fold your fabric in half and hold it up to the garment to visualize the sizing (remember it will be missing a 1/4" seam allowance once sewn) use your intuition! |
 |
| step 2: fold fabric in half lengthwise (ironing is optional) and sew along two edges with a 1/4" seam allowance. leave one side open for the next step. |
 |
| step 3: turn fabric right side out. sew an invisible stitch along the side that was left open. |
 |
| step 4: sew a loose stitch along the middle of the fabric (double up your thread to prevent breakage). |
 |
step 5: pull thread to tighten fabric and secure with a few knots. you might want to do a few back stitches for this step to tighten a little more.
you can then attach the bow to a garment (dresses or shirts work well) by sewing a button onto the middle of the bow and through the bow and garment.
hope you enjoyed this little tutorial
♥
|
|


No comments:
Post a Comment